How to Set Printable Area in Excel
Are you tired of Excel spreadsheets not printing the way you want them to? Setting the printable area in Excel can be a game-changer when it comes to getting your documents to look just right. With a few simple steps, you can ensure that only the data you want will appear on the printed page, saving you time and frustration. Read on to learn how to set the printable area in Excel and take control of your printing needs.
Customizing the Printable Area
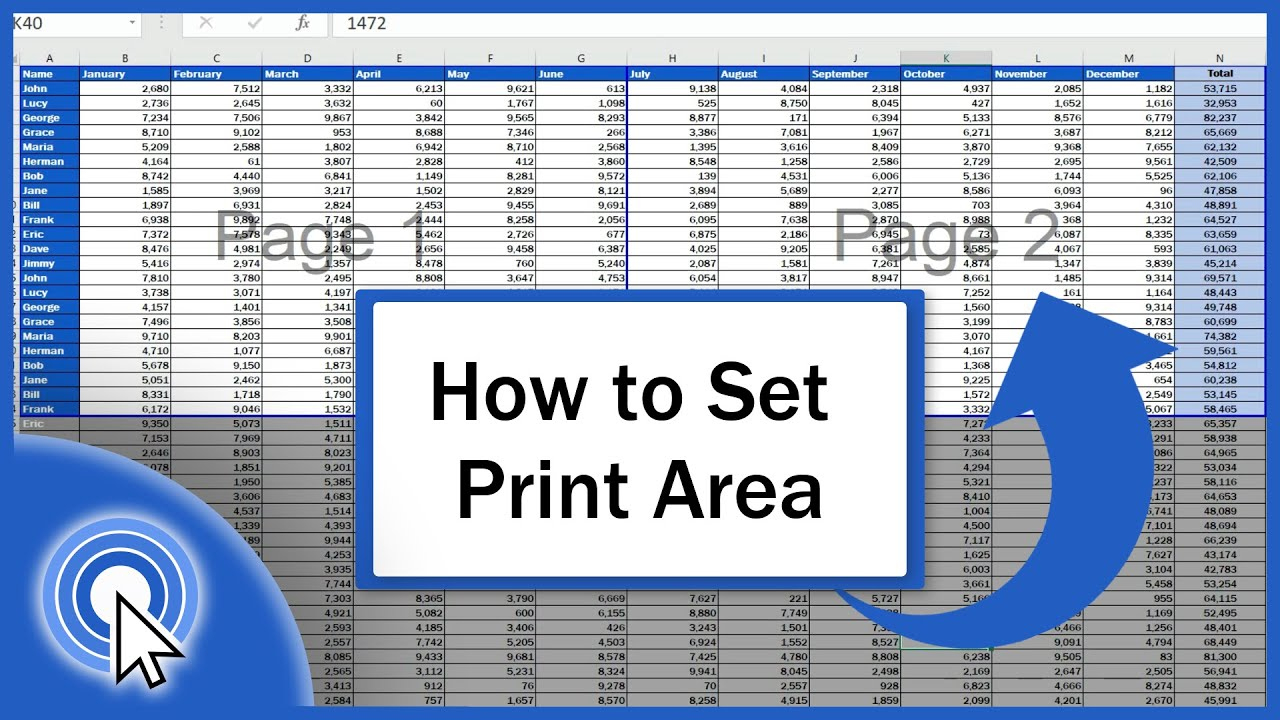
One way to set the printable area in Excel is by customizing it to fit your specific needs. By selecting the cells you want to include in the printable area, you can ensure that only the relevant information will be printed. To do this, click on the Page Layout tab, then select Print Area and choose Set Print Area. This will designate the selected cells as the printable area for your document.
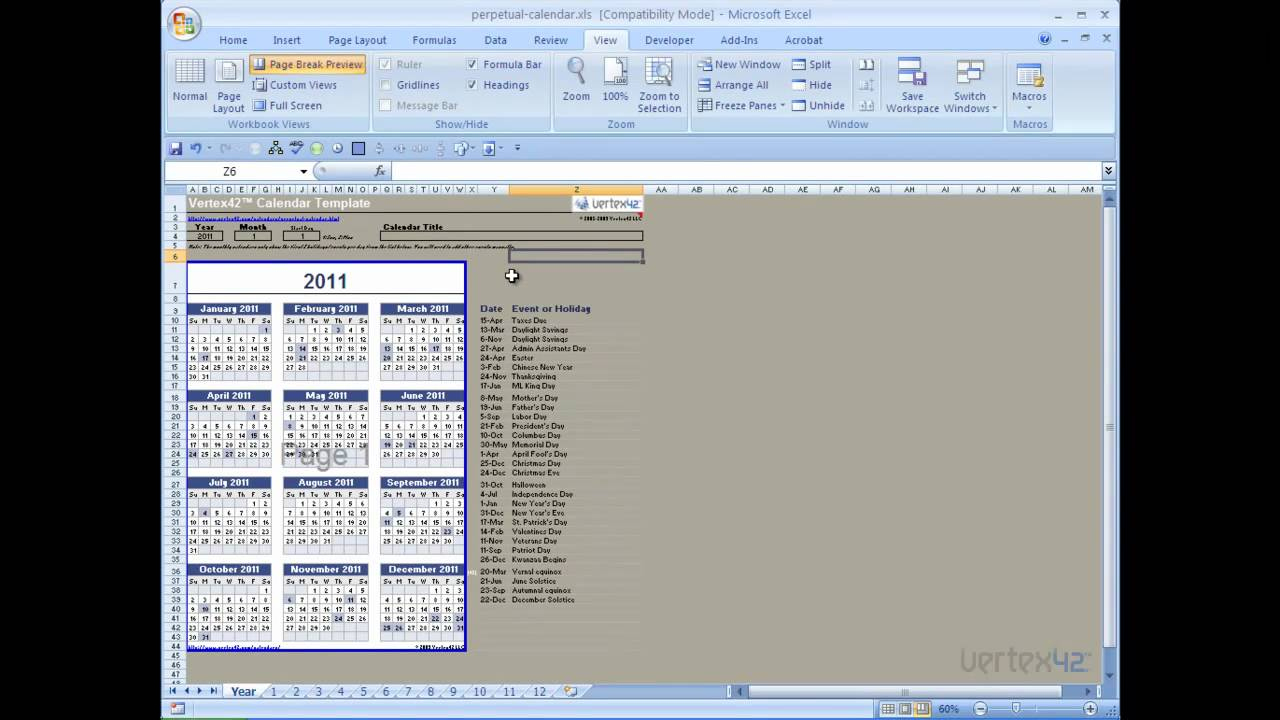
Another option for customizing the printable area is to adjust the page breaks in Excel. By manually setting page breaks, you can control where your document will break onto a new page when printing. To do this, go to the View tab, click on Page Break Preview, and then drag the blue lines to adjust the page breaks as needed. This allows you to create a more customized layout for your printed document.
Optimizing for Print Preview
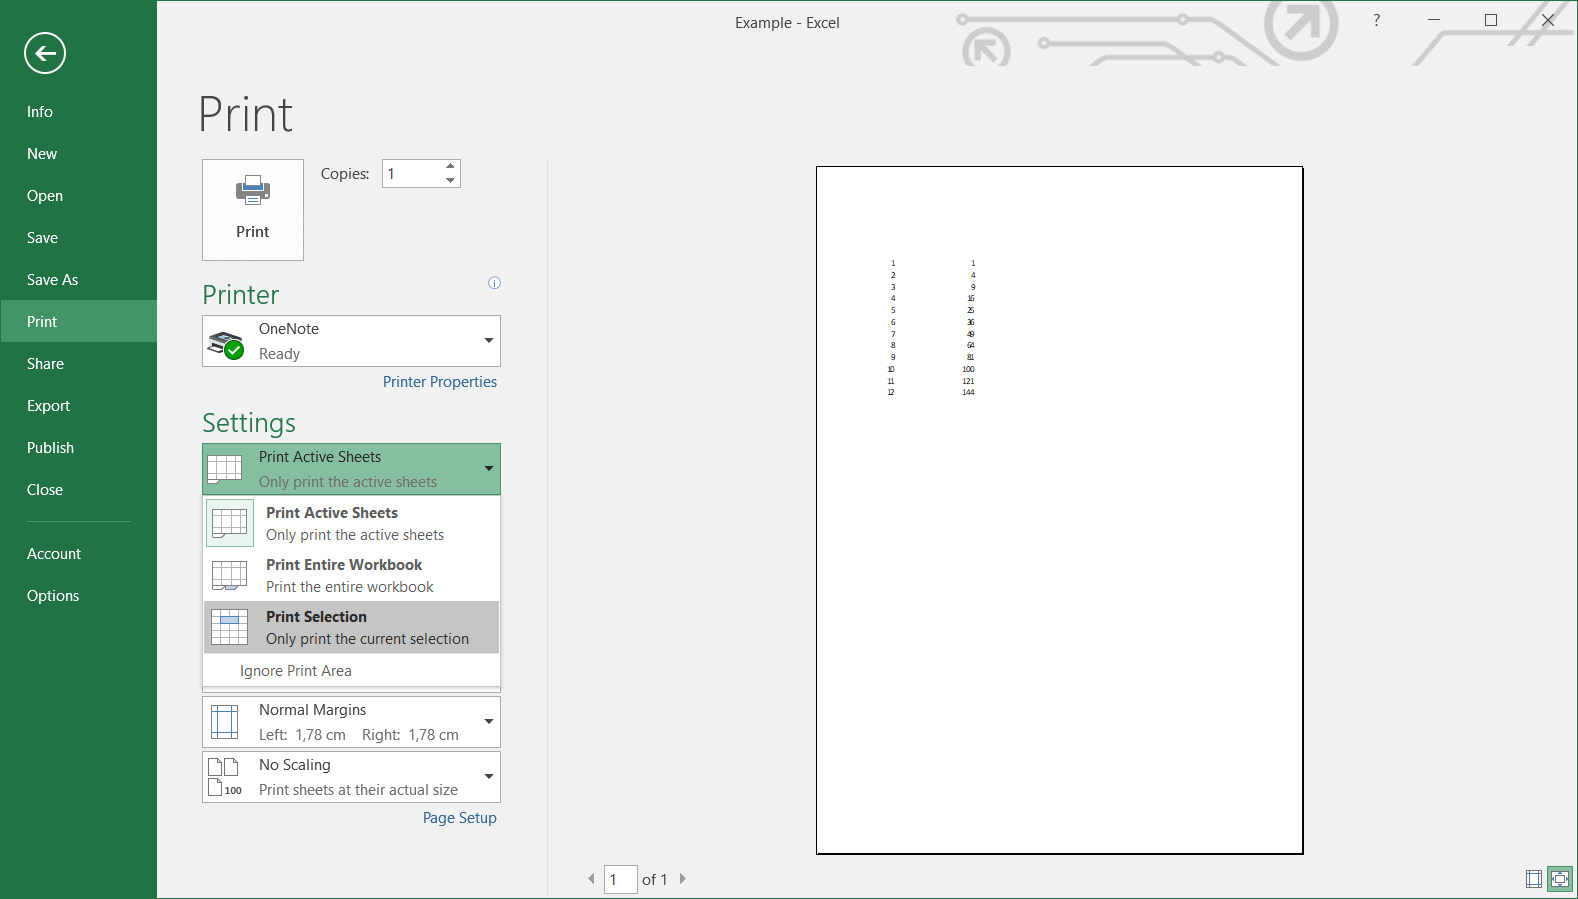
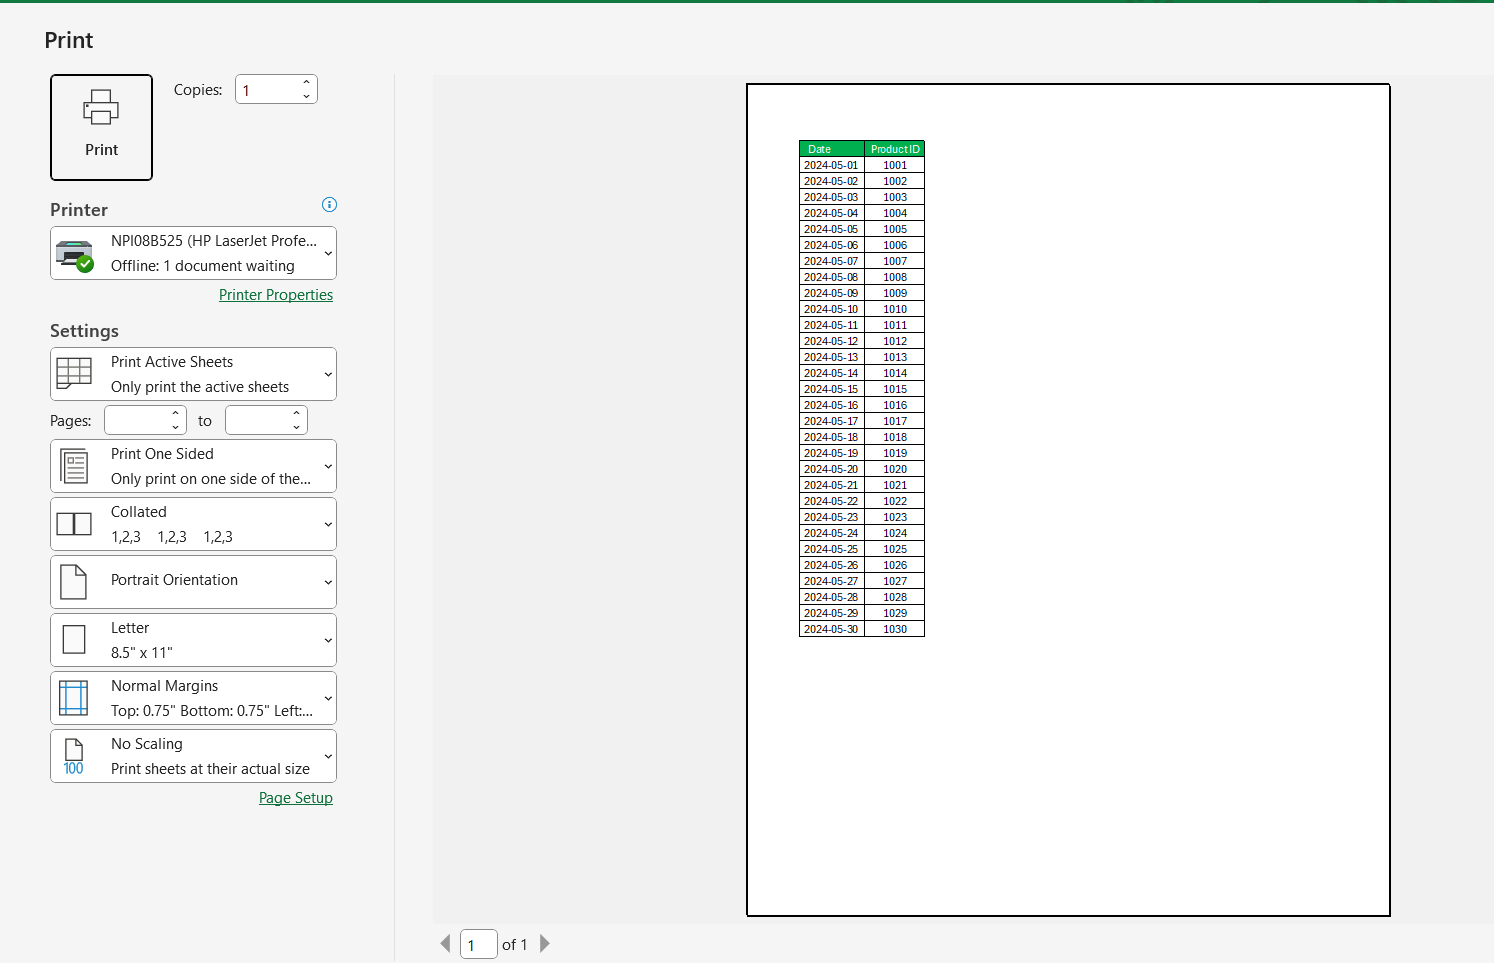
To ensure that your document will print exactly as you want it to, it’s essential to use the Print Preview feature in Excel. This allows you to see how your document will look when printed and make any necessary adjustments before sending it to the printer. To access Print Preview, go to the File tab, select Print, and then click on Print Preview. From there, you can adjust settings such as margins, page orientation, and scaling to optimize your document for printing.
Another way to optimize your document for printing is to use the Fit to feature in Excel. This feature allows you to automatically adjust the size of your document to fit on a specified number of pages. To use this feature, go to the Page Layout tab, select Size, and then choose Fit to from the dropdown menu. This can be especially helpful when working with larger spreadsheets that need to be condensed for printing.
By customizing the printable area and optimizing your document for print preview, you can ensure that your Excel documents will print exactly as you want them to. These simple steps can save you time and frustration when it comes to printing, allowing you to focus on the content of your spreadsheets rather than worrying about formatting issues. Give it a try and see the difference it can make in your printing experience!
Related Printables..
Image Sourcing Policy: Our content includes images identified as public domain or editorially permissible. If you are the copyright holder of an image and believe its use is unauthorized, please contact us with proof of ownership. We are happy to either promptly remove the image or, where appropriate, provide proper accreditation as per your request.
How to Set Printable Area in Excel